How To Use Routing
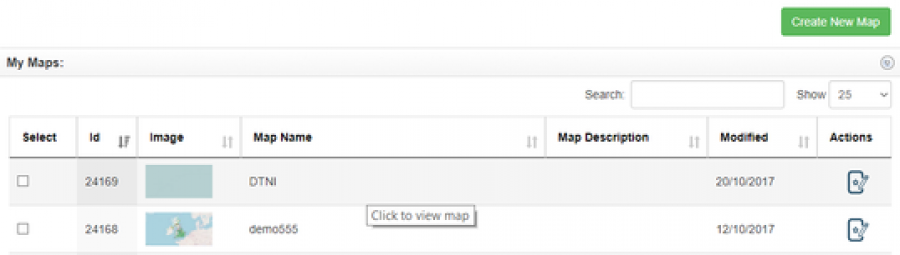
Step 1 - Open an existing map
Click on the row of your chosen map
Step 2 - Select the routing tool
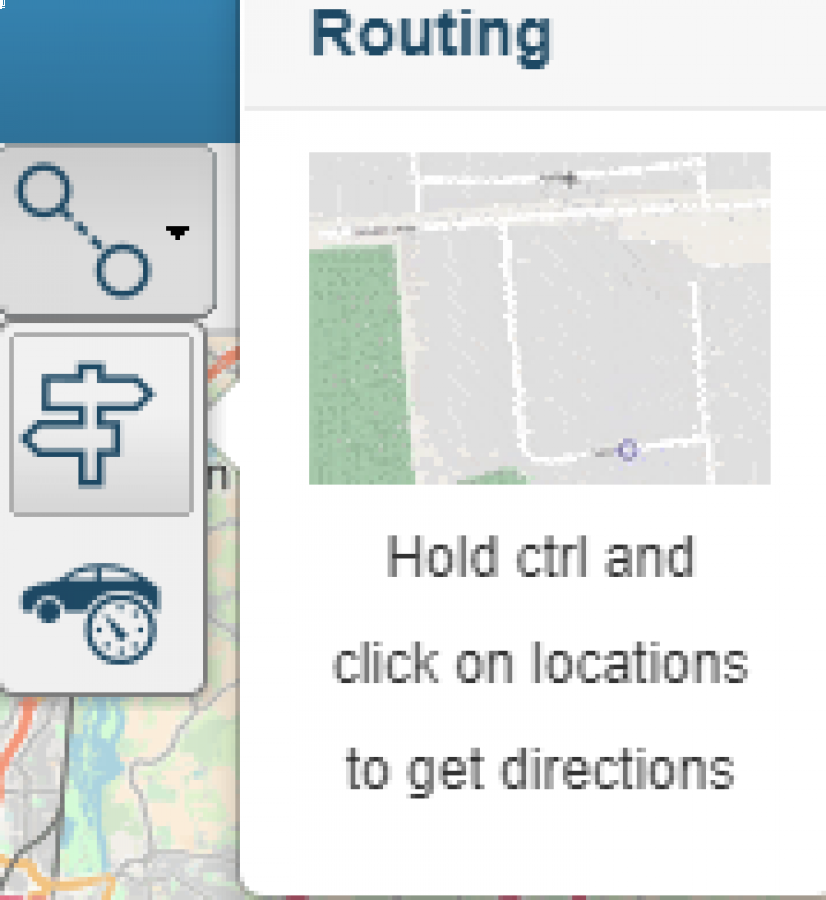
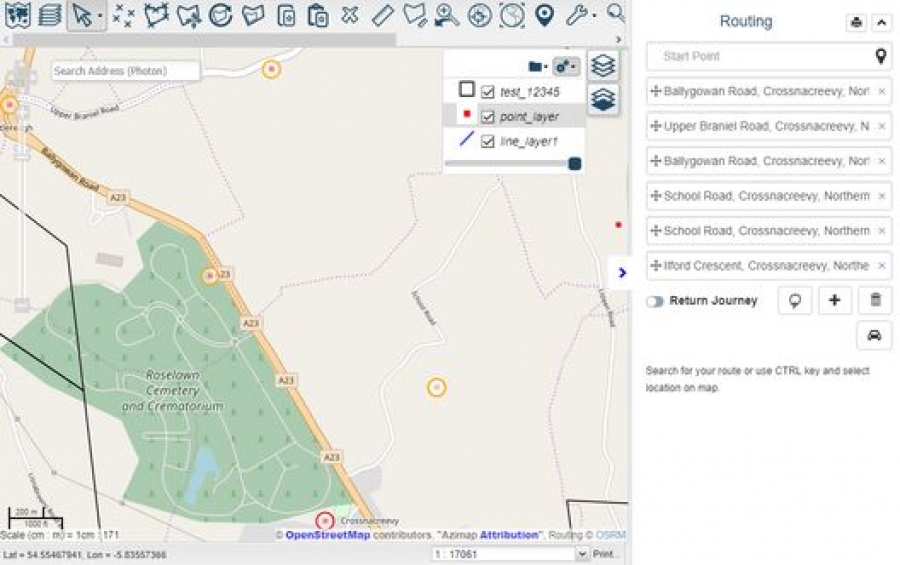
Upon selecting the routing tool, the routing side - panel will open.
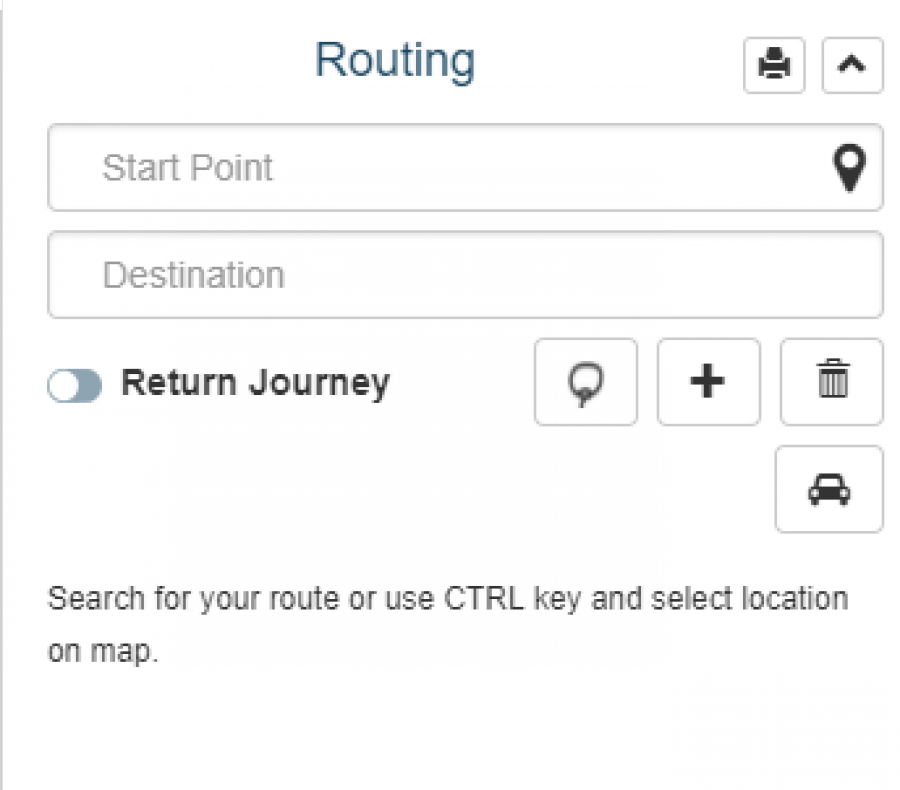
Within the routing panel you can complete a number of tasks -
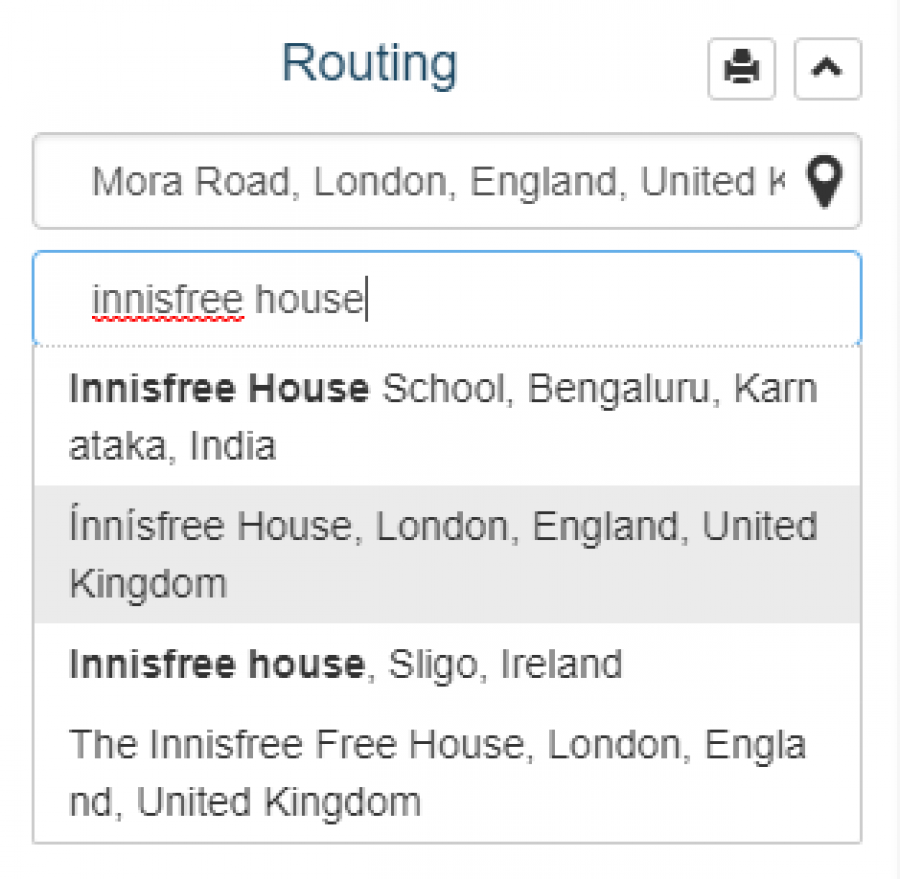
- Search for a start and end point using Azimap's inbuilt geo-coding capabilities
- Set the start point as current location based on IP

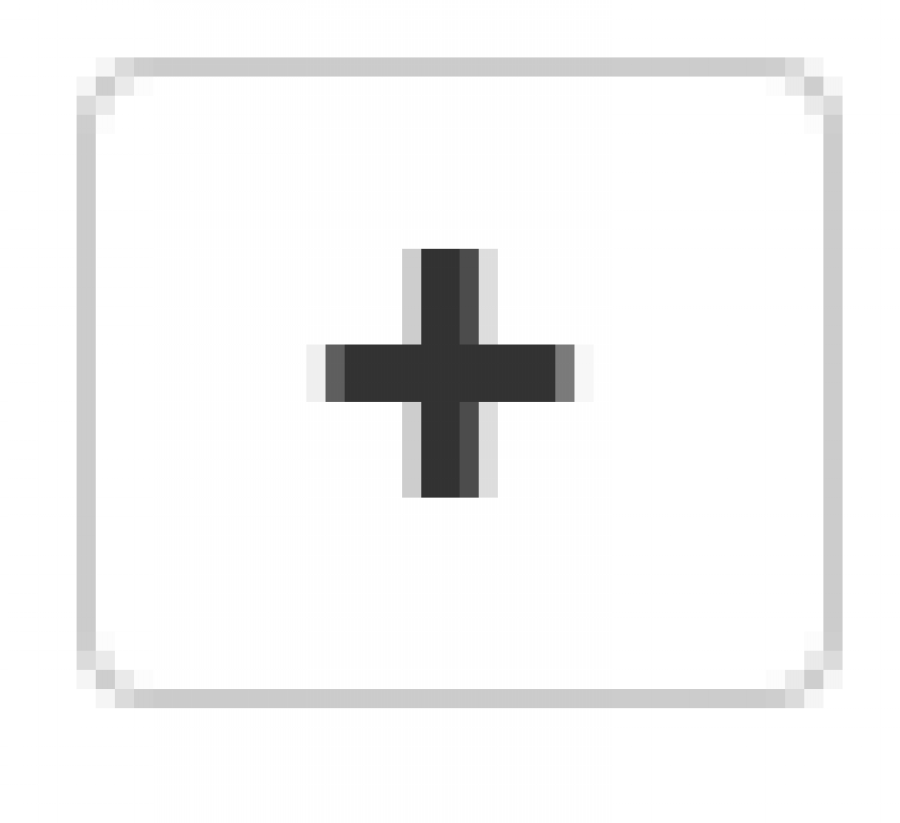
- Add new destinations
- Select multiple points on your map to route between

- Select return journey or not
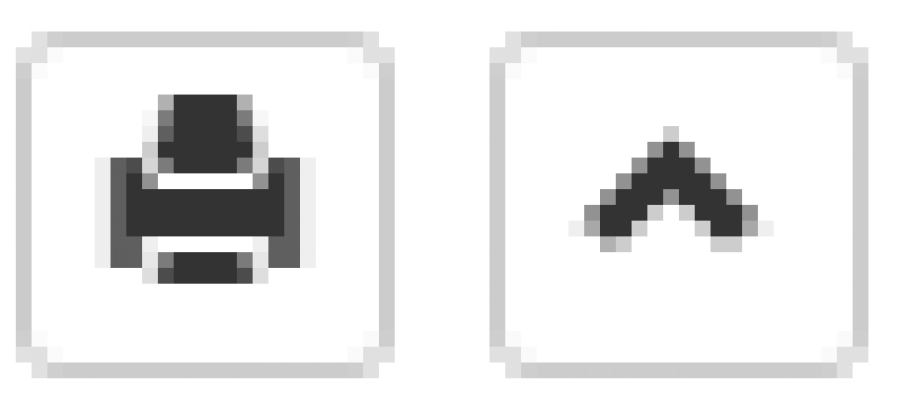
- Print successful route
 **
** - Click on the map using the CTRL key to set destinations
- Reset search

- Route search

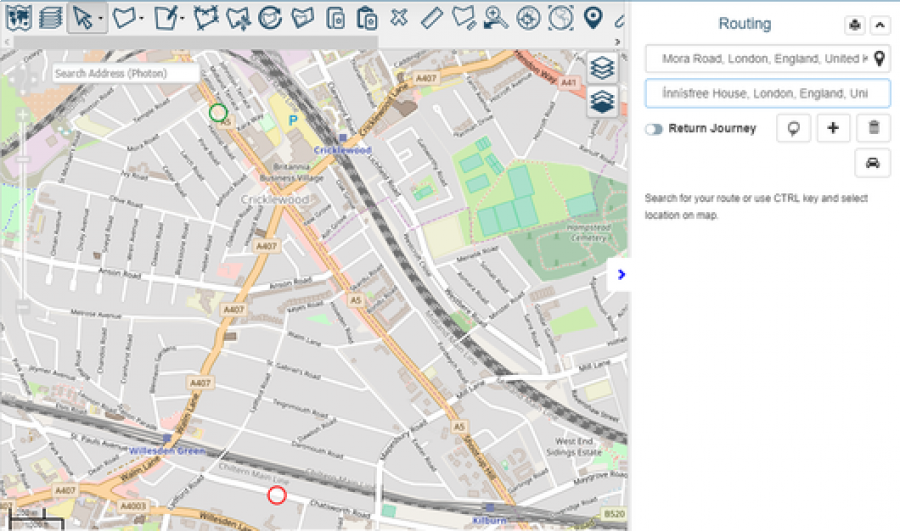
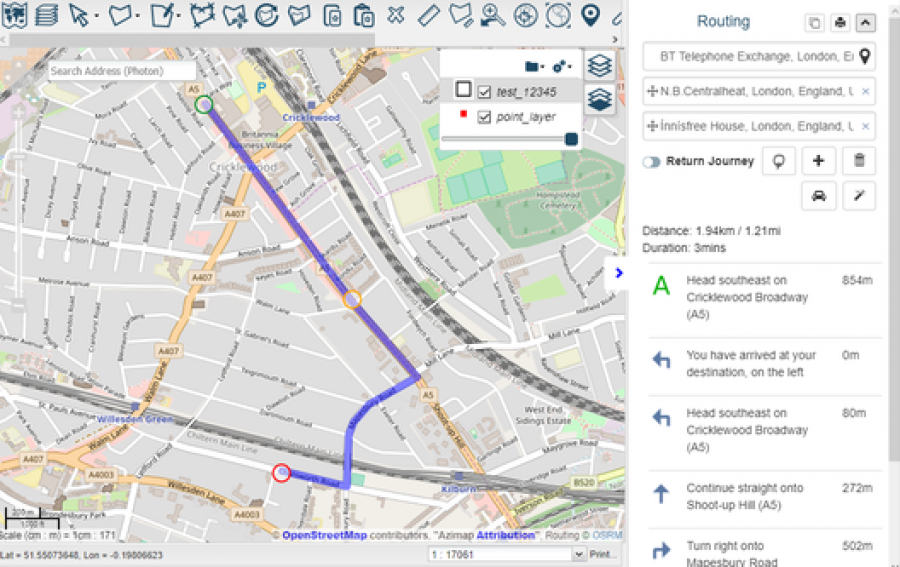
Start / destination locations can be placed using the CTRL key and clicking map location. This will place a coloured circle on the map and populate the appropriate search box with an address:
- Green - start point
- Amber - via destinations
- Red - final destination
Alternatively you can search addresses using Azimap's geo-coding service
Unlimited via destinations can be associated to the route planner
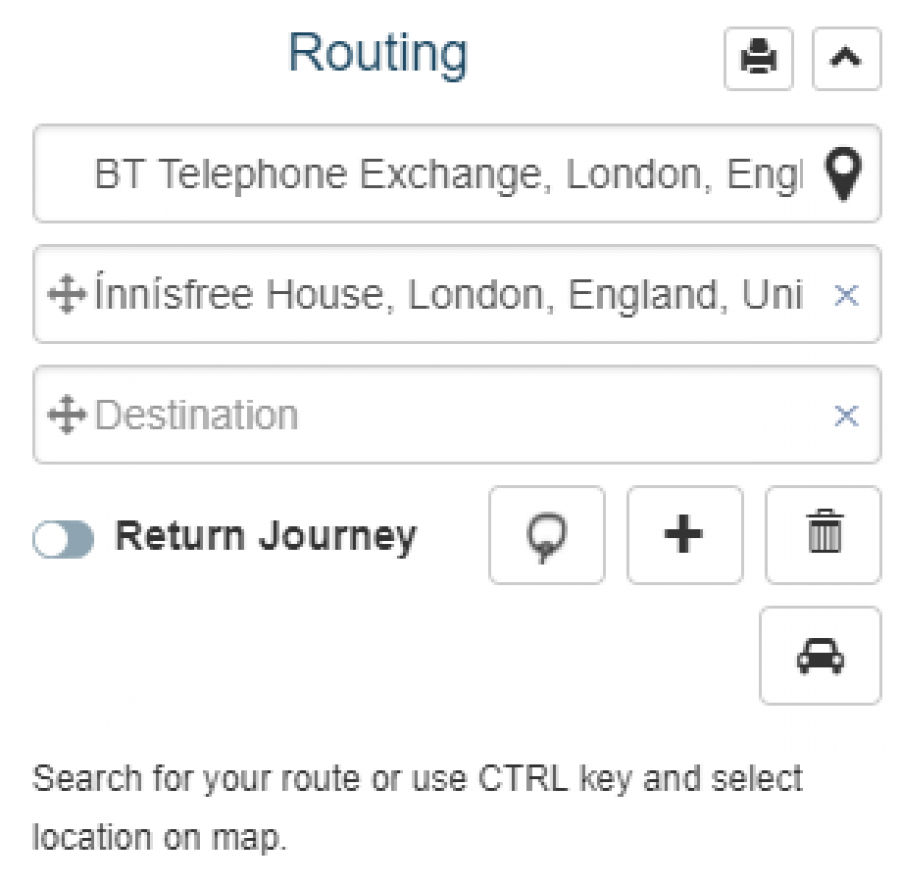
Destinations can be re-ordered using the drag and drop handle

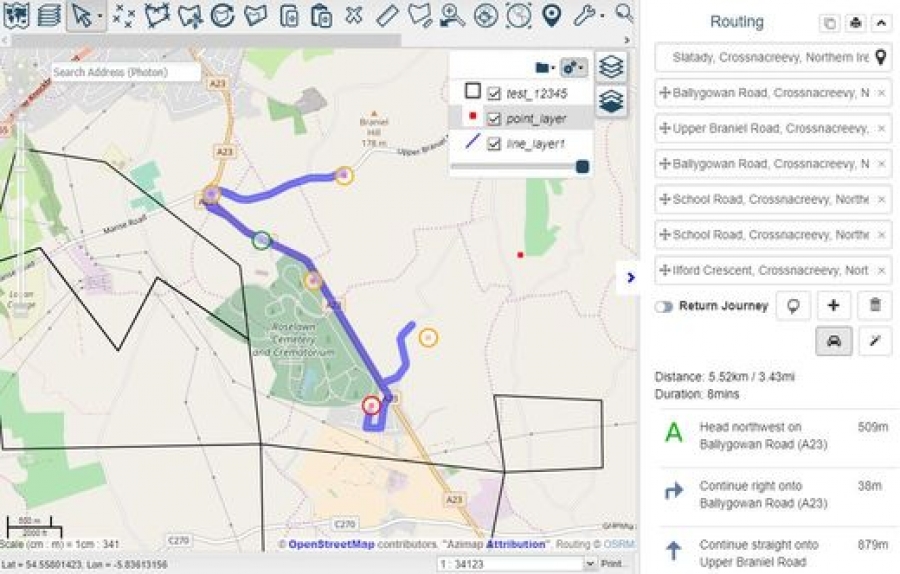
Once you have associated all destinations, select search  to view your route. Results will be displayed on the map and turn by turn instructions will be displayed in the routing panel. The distance time and overview will be displayed above the turn by turn results.
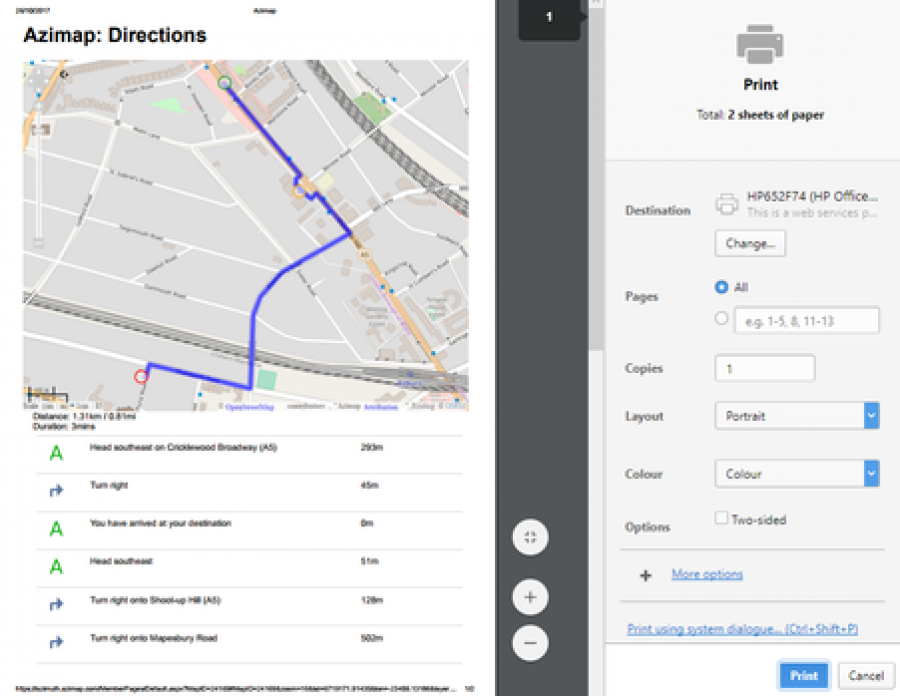
The map and turn by turn instructions can be printed**, showing route map and instruction using the print button on the top right of the panel
Advanced Routing Tools
Route lines can be cloned using the clone button in the top right of the panel 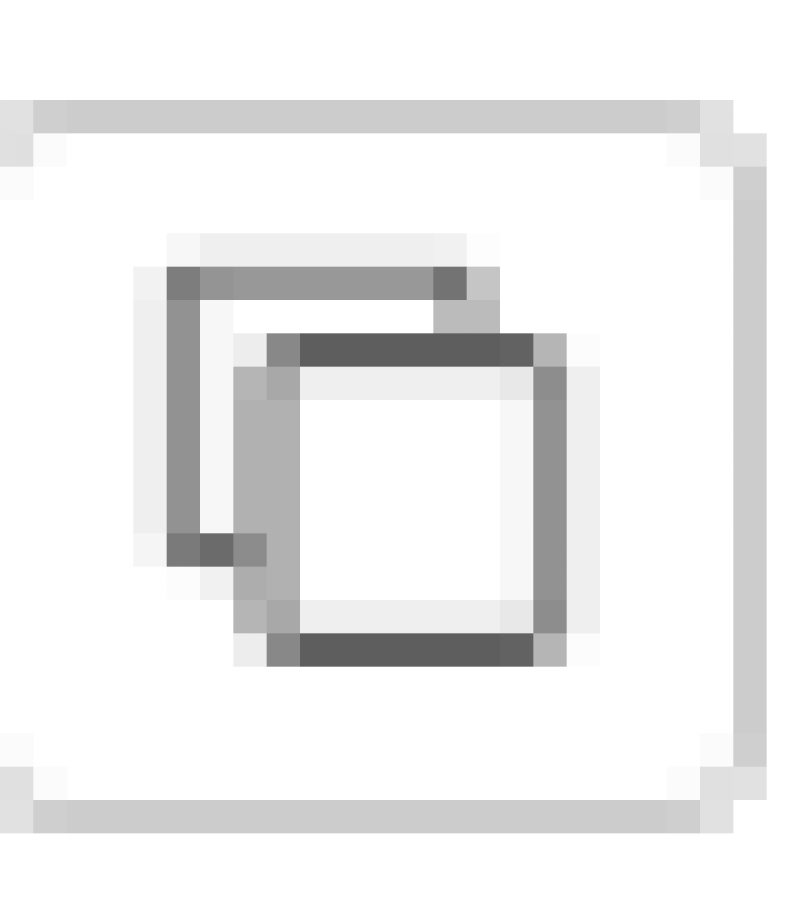
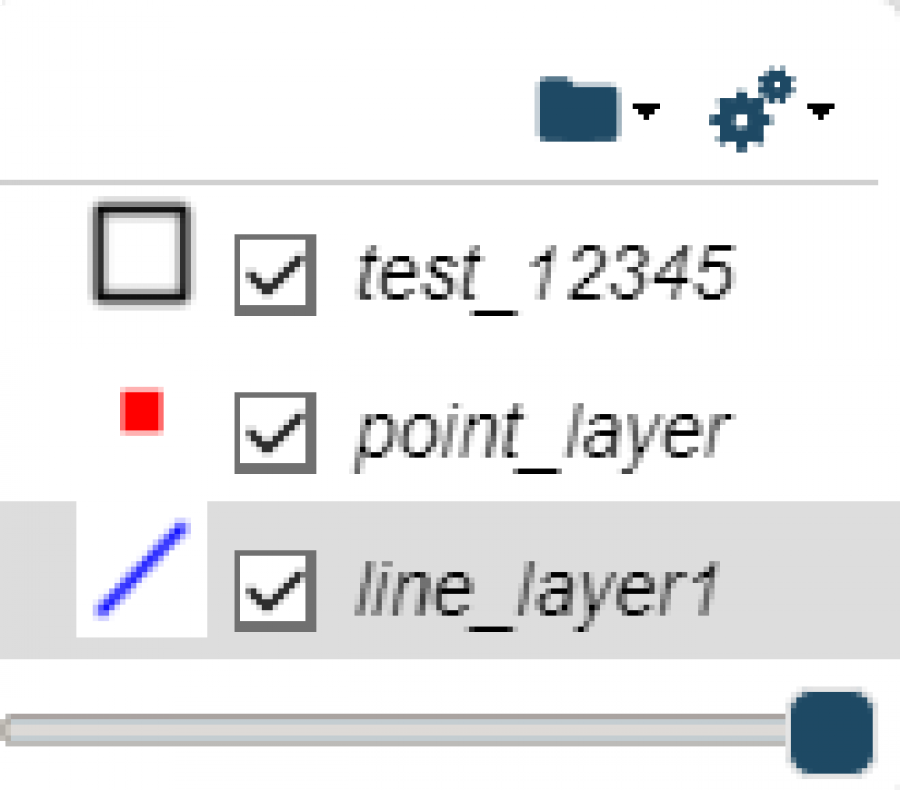
To successfully clone a route line you must select a receiving line layer in the layer selector

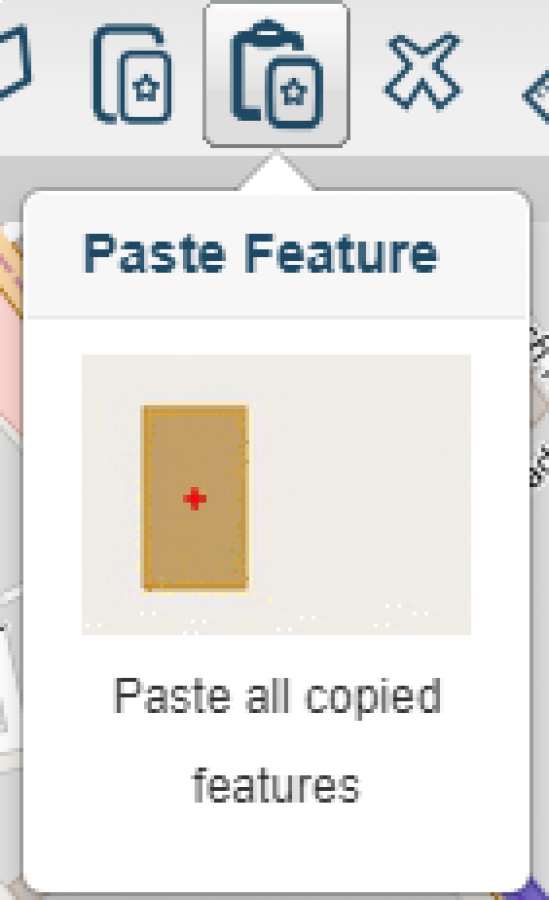
Use the paste button on the toolbar to paste the route line onto an available line layer
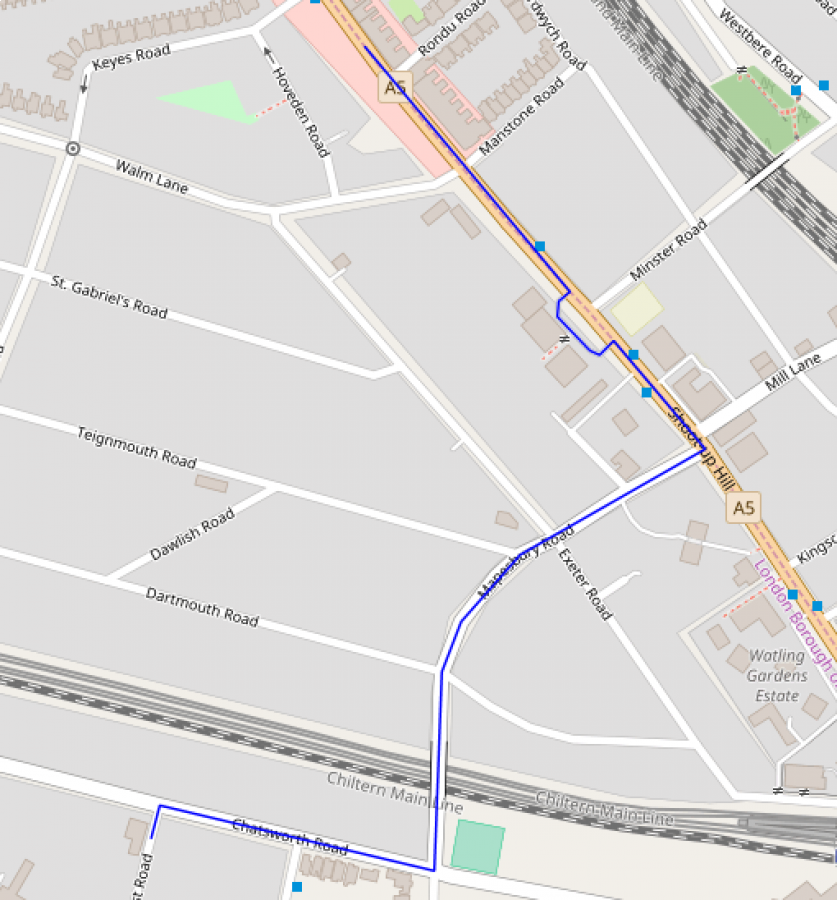
Results should be displayed similar to the following example
Fastest route and the travelling salesman problem (TSP)
Azimap can solve the TSP, given a list of destinations and the distances between each pair, what is the shortest possible route that visits each destination exactly once and returns to the origin destination?
Points can be selected using the lasso selector 
These will add new destinations to the route planner auto populating the corresponding addresses. Set your start point by using the CTRL key and clicking the map or searching for an address or by your current location.
Clicking search will supply an optimsed route between all selected locations between the fixed start and end points as shown below.
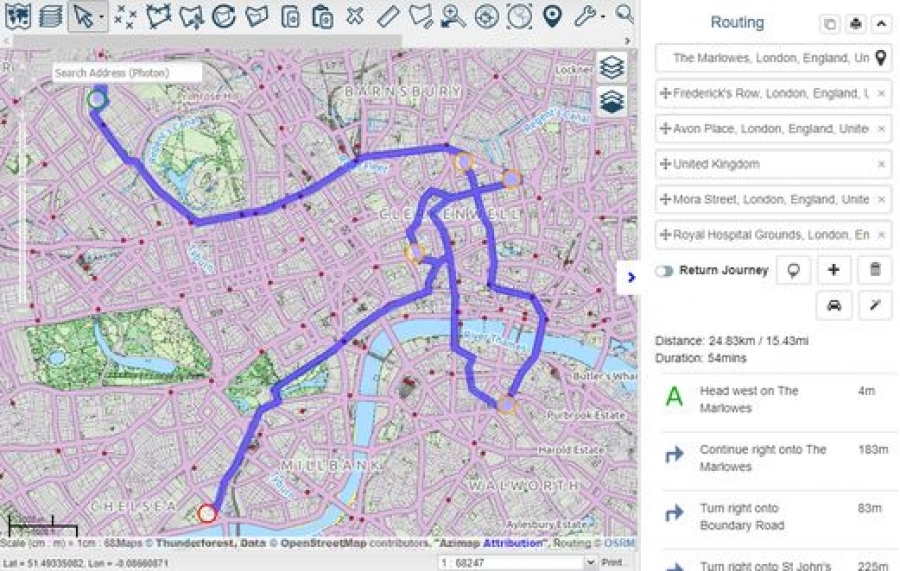
Route Optimisation
User can search for or select multiple destinations. The route will be calculated in the order that the destinations are listed. Examples below of poorly optimised route with lots of back tracking.
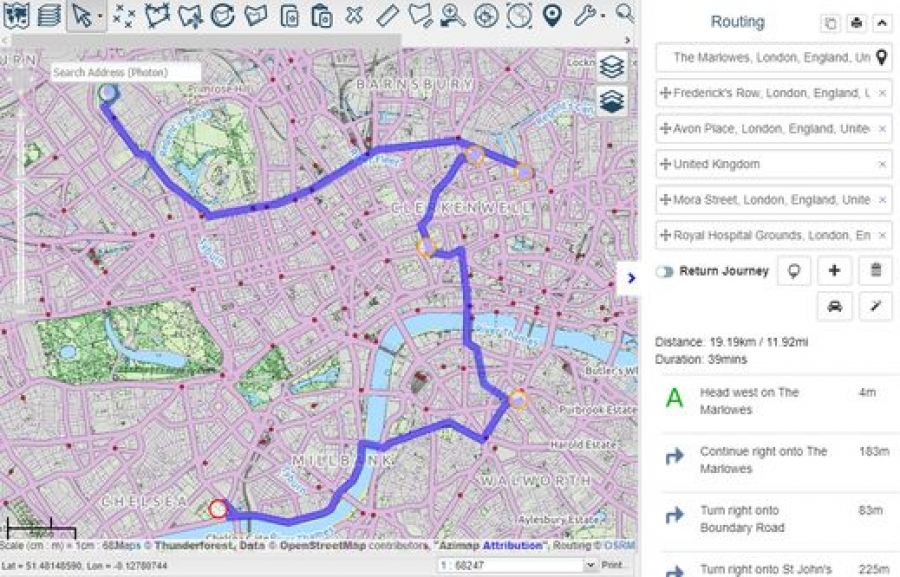
After running a route you can optimise the route, using the wand tool  to identify the most efficient route to all destinations with a fixed start and end point and optional return to start. See optimised route below -
If you have any additional questions or need support please do not hesitate to email support@azimap.com